As I expand my home automation system, I find myself wanting to be able to turn my lights on and off remotely or via voice control. There are a million great products out there that would allow me to integrate my light switches, but I wanted to select something that will be scalable (read: affordable) if I decide to convert all light switches to smart switches throughout my home. So, follow along with me below as I take you through the process of converting any old light switch into a smart switch.
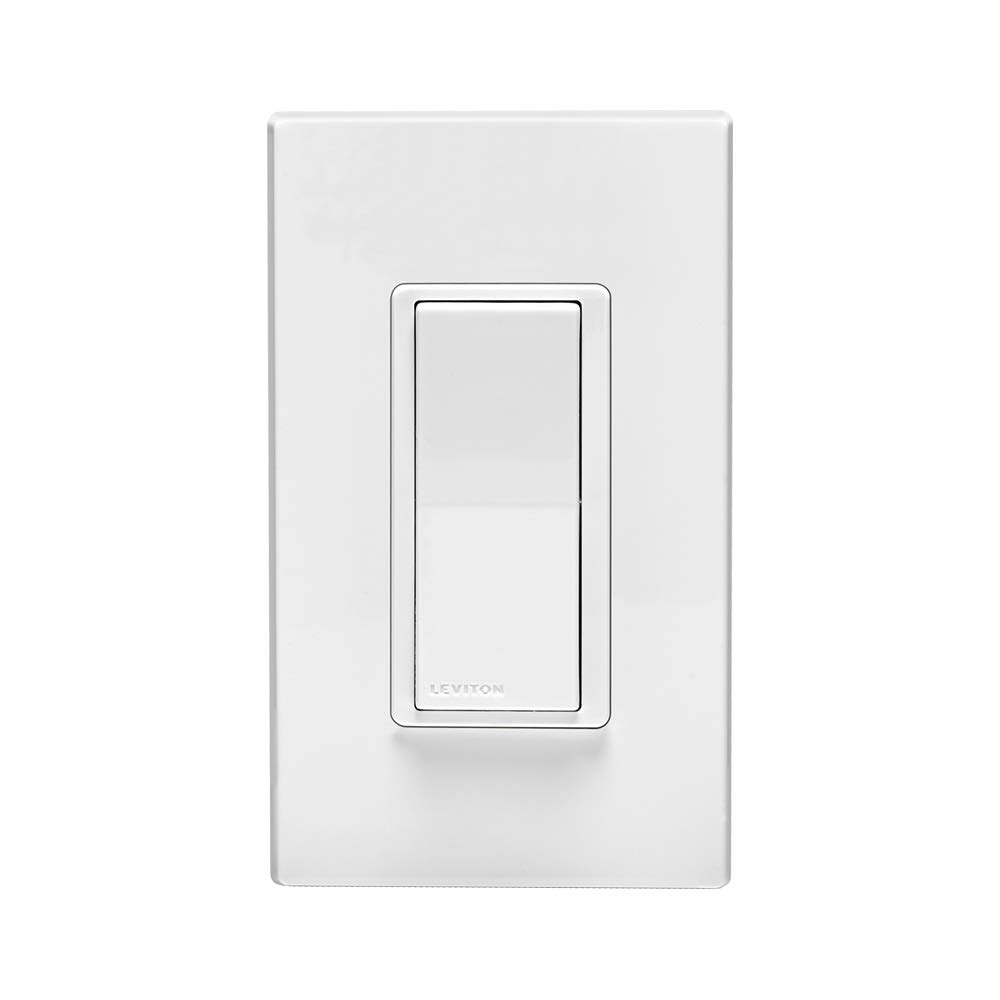
When automating their homes, many folks look to replacing their light switches with smart ones such as this Leviton Decora. The cost per switch can be intimidating, however, when you want to talk about adding 10 or 20 smart switches. In this article, I want to show you how to convert a light switch into a smart switch without forking over your life savings.
Luckily, there is an affordable line of products you can install with the same basic electrical skills needed to install a smart switch. These products are wireless relays for home automation.
What is a wireless relay or smart relay?
A relay, in a general sense, is a device that has an input circuit and an output circuit. When the input circuit is closed, the relay closes the output circuit. In many cases, a relay allows a low-voltage or low-amperage signal circuit to activate a higher-voltage or higher-amperage output circuit.
In this context, a wireless relay or smart relay is a device that wires in with your existing light switch. The wireless relay then connects to your Wi-Fi network (or other home automation network depending on the relay you purchase). Just like other smart home products, once the relay is on your network, you can then control it through its proprietary app or through other hubs or assistants, such as Google Home or Amazon Alexa products.
What are some popular wireless relays?
Sonoff Basic
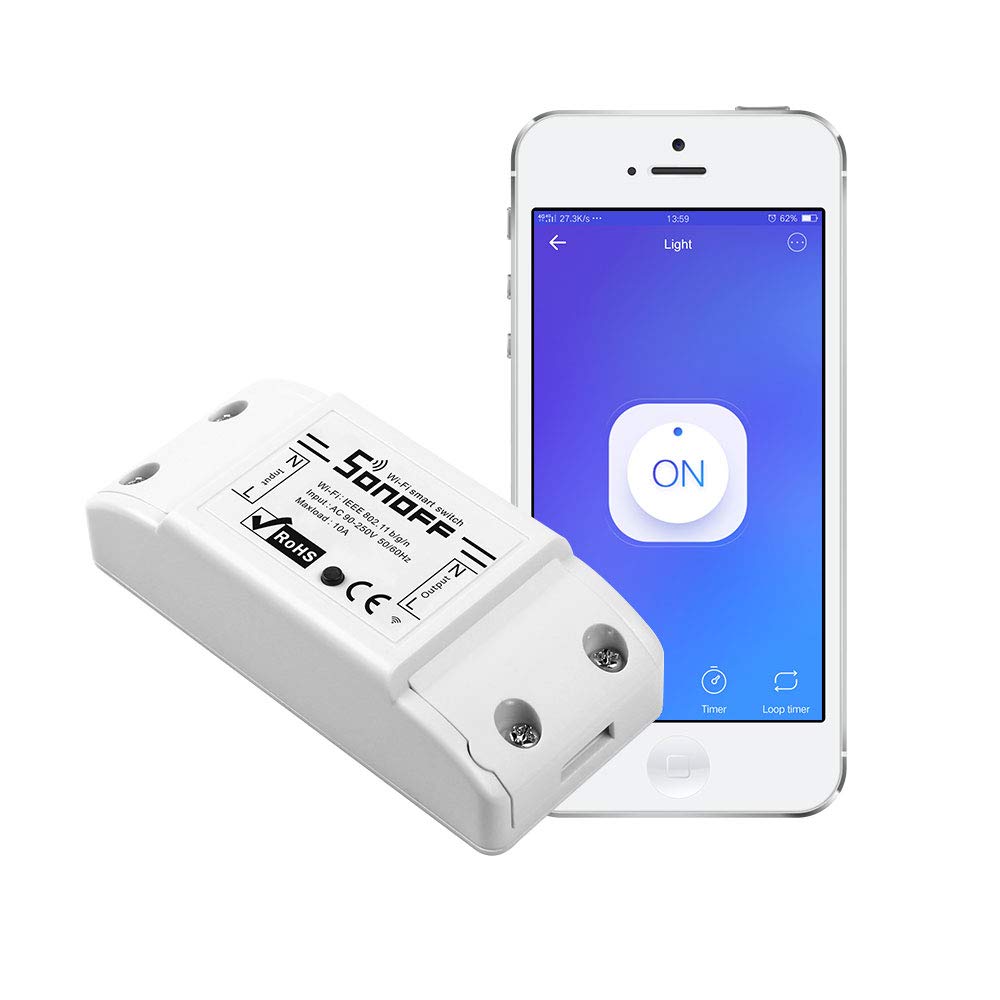
One of the most popular wireless relays for home automation enthusiasts is the Sonoff Basic. An incredibly affordable smart relay, the Sonoff Basic is typically available for only a few dollars! While this is an excellent product and well-loved in the smart home community, I’m going with what I regard as its big brother, the Shelly 1:
Shelly 1

Shelly is typically just a few more dollars than the Sonoff Basic. Here’s why I’m willing to shell out the extra few bucks for a Shelly 1:
- The Shelly 1 is -very- small for what it does. The common saying is that Shelly 1 is about the size of two Oreo’s stacked together
- Because it’s so small, it can easily fit in the gang box behind your existing light switch
- By comparison, the Sonoff cannot fit in a gang box without modification
- When converting your light switch into a smart switch, you can easily wire in your existing light switch output to the Shelly’s SW port. This way, when you set Shelly 1 to its “edge switch” mode, your light switch will work normally
- You won’t have to reach for your phone or ask Alexa any time you want to turn the light on or off
- Importantly, you won’t frustrate your guests with switches that don’t behave as they expect
- The Sonoff Basic is a 10A switch, while the Shelly 1 is a 16A switch. This means that during an electrical fault, a 15A breaker should pop before the 16A Shelly 1 is damaged
- For the real tinkerers of the home automation world, you can flash Shelly 1 with a custom firmware load without opening the case or soldering. If this is the route you want to go, you can use Shelly 1’s external port to communicate with its ESP8266 chip
How do I convert a light switch into a smart switch by installing a smart relay?
If you can replace a light switch, you can install a wireless relay. Simply connect the wiring from your home to the correct ports of the wireless relay, and you’re off to the races. Let’s look at wiring in a Shelly 1:
Shelly 1’s Ports:
- N – Neutral (neutral in from your breaker box)
- L – Line (hot in from your breaker box)
- SW – Switch (the output of your physical light switch)
- With this port, you can setup the Shelly 1 to allow the physical switch to continue to turn the lights on and off
- I – Input (line in) for the relay side
- O – Output for the relay side (the new power source for your lights)
Converting a traditional light switch into a smart switch using a Shelly 1
The instructions below will show you how to add some smarts to your light switch. Specifically, these instructions are meant for lights that are only controlled by one switch. For 3-way wiring (lights that are controlled from more than one switch), you will need to locate the 1 switch in the group that actually outputs power to the light.
To use a Shelly 1 to convert a traditional light switch into a smart switch, you would do the following:
Setup
- Kill the breaker for the circuit on which you’re working, and then verify that the circuit is safe (not energized)
- Remove the light switch that you want to automate (except for its load-side black wire), making note of which wires come in from your breaker box and which provide power from the switch to the light
- “Line-side” (in from breaker box) wires are typically wired into the bottom of a light switch
- “Load-side” (out to light) wires are typically wired into the top of a light switch
Wiring in your Shelly 1 smart relay
- Wire in the Shelly 1 as follows (use wire nuts and electrical tape to secure the wire nuts. You may have to go up a size on your wire nuts if you have to add wires):
- Neutral – Add a short segment (a few inches, enough to reach the Shelly 1 comfortably) of white (neutral) wire into the bundle with the other white wires and connect this wire to Shelly 1’s N port
- Line-side – Use the black wire that was providing power to the bottom (line side) of the light switch. In a wire nut, bundle three short segments of black wire with this wire
- Firstly, connect one of these short segments to Shelly 1’s L port
- Then, connect one segment to Shelly 1’s I port
- The final short segment goes to the line-side (bottom) screw or port on your light switch
- SW – Cut the load-side black wire coming out of the light switch so that a few inches of wire are hanging out of the switch. Strip both sides of the cut wire. Then, connect the short segment hanging out of the switch to Shelly 1’s SW port
- O – Use the other side of the load-side wire that goes off to the light itself (that you cut to connect SW) and connect it to Shelly 1’s O port
Fire it up!
- Tuck everything back into the gang box, close it up, and turn the breaker back on
- Next, fire up the Shelly Cloud app on Android or iOs and set up your new smart relay
- Lastly, integrate Shelly Cloud with your voice assistant
Sounds like a deal to me!
For the goal of automating my home without interrupting any “traditional” functionality, Shelly 1 is an awesome fit. Using Shelly, I can convert “dumb” light switches into smart switches that I can then control via:
- An app on my phone – from anywhere that I have Internet access
- Or, a home automation solution like Home Assistant
- Also, with my voice through Amazon Echo or Google Home
Best of all, I can do all of this without cleaning out my bank account.
For the ability to convert any light switch into a smart switch at a low price, how could you say no?
Thanks for sharing what you learned about this so I can try it, too.
I have a room with 1 light attached to 1 switch, so the solution you provided in this article would be perfect. Except that I want to add a 2nd switch to this room. You mentioned being able to use the Shelly 1 in 3-way switch scenarios, but I don’t want to wire a 2nd switch – instead, I wonder if there is a wireless smart switch that I could add to the Shelly 1 circuit (1 light, 1 switch, 1 Shelly 1). Do you know if that’s possible?
Thanks in advance for any thoughts you have time to share.
Hi Mike! Thanks for the great question.
I believe you could do what you want to do with a Shelly 1 and a smart button.
You could install the Shelly 1 behind your existing light switch. The Shelly 1 will now become the true power source controller for the light, with the physical light switch acting as an input to the Shelly. Feel free to use the guide above and make sure to set the Shelly’s switch input type as “Edge Switch”. 🙂
Next, setup and place a smart button at the second position in the room from which you’d like to be able to control your light. Using Alexa (or your other home automation controller), you could then configure the smart button to toggle the state of the light (which, from Alexa’s point of view, is your Shelly 1) on or off.
I haven’t personally done this exact application, but I think it’s an interesting case and I’ll have to make a post about it in the future. 🙂
For some reason, low-cost smart buttons on Amazon seem to be unavailable currently. There was an affordable SmartThings smart button available that I think would work if you are a SmartThings user. I also saw some options like the Flic 2, which I believe would work for your application, but which I personally find to be a bit pricey. If you can’t wait for some of the lower-priced options to become available, you might have to go with a wireless multi-scene controller for around $45. Another option might be the Konke smart home hub + multi-function button, which I believe are around $30 together, which isn’t too bad. I haven’t personally used any of the options above, so if you do use any of those, come back and tell me about it so other readers will benefit from your experience!
Hope this helps! Let me know if that answers your question. 🙂
-Skyler
Thanks. That tells me it can be done and how to do it. Now I have to figure out the product to use. If all smart buttons require a hub, I’m leaving the realm of DIY so I might as well just get a hub with a smart switch and a remote. Although like you said, the Konke smart hub and smart button combo is about $30, which too much money, and I’d only need 1 hub even if I added other Konke smart buttons in the future (or so I assume).
Hmm, the Konke hub uses Zigbee to talk to its devices, and Zigbee requires line-of-sight. At best, this means I’d need an additional hub for additional devices around the house (or multiple hubs to make a kind of mesh network?). At worst, this means that it won’t work for me unless I place the hub in the same room as the smart button (which would mean I couldn’t control it via IR remote from anywhere other than that room, though I think I could control it from the app on my phone or from Google Assistant/Alexa, because those communicate with the hub via wifi, I think). This is probably getting to in-depth for a comment on an article, so the takeaway should be: it’s possibly do-able, probably not very cheaply.